Laminate flooring is a popular choice for homeowners looking to upgrade their flooring. It’s a durable, cost-effective, and easy-to-install option that can give your home a fresh new look. Installing laminate flooring can be a DIY project, and here are the steps you’ll need to take to get the job done.
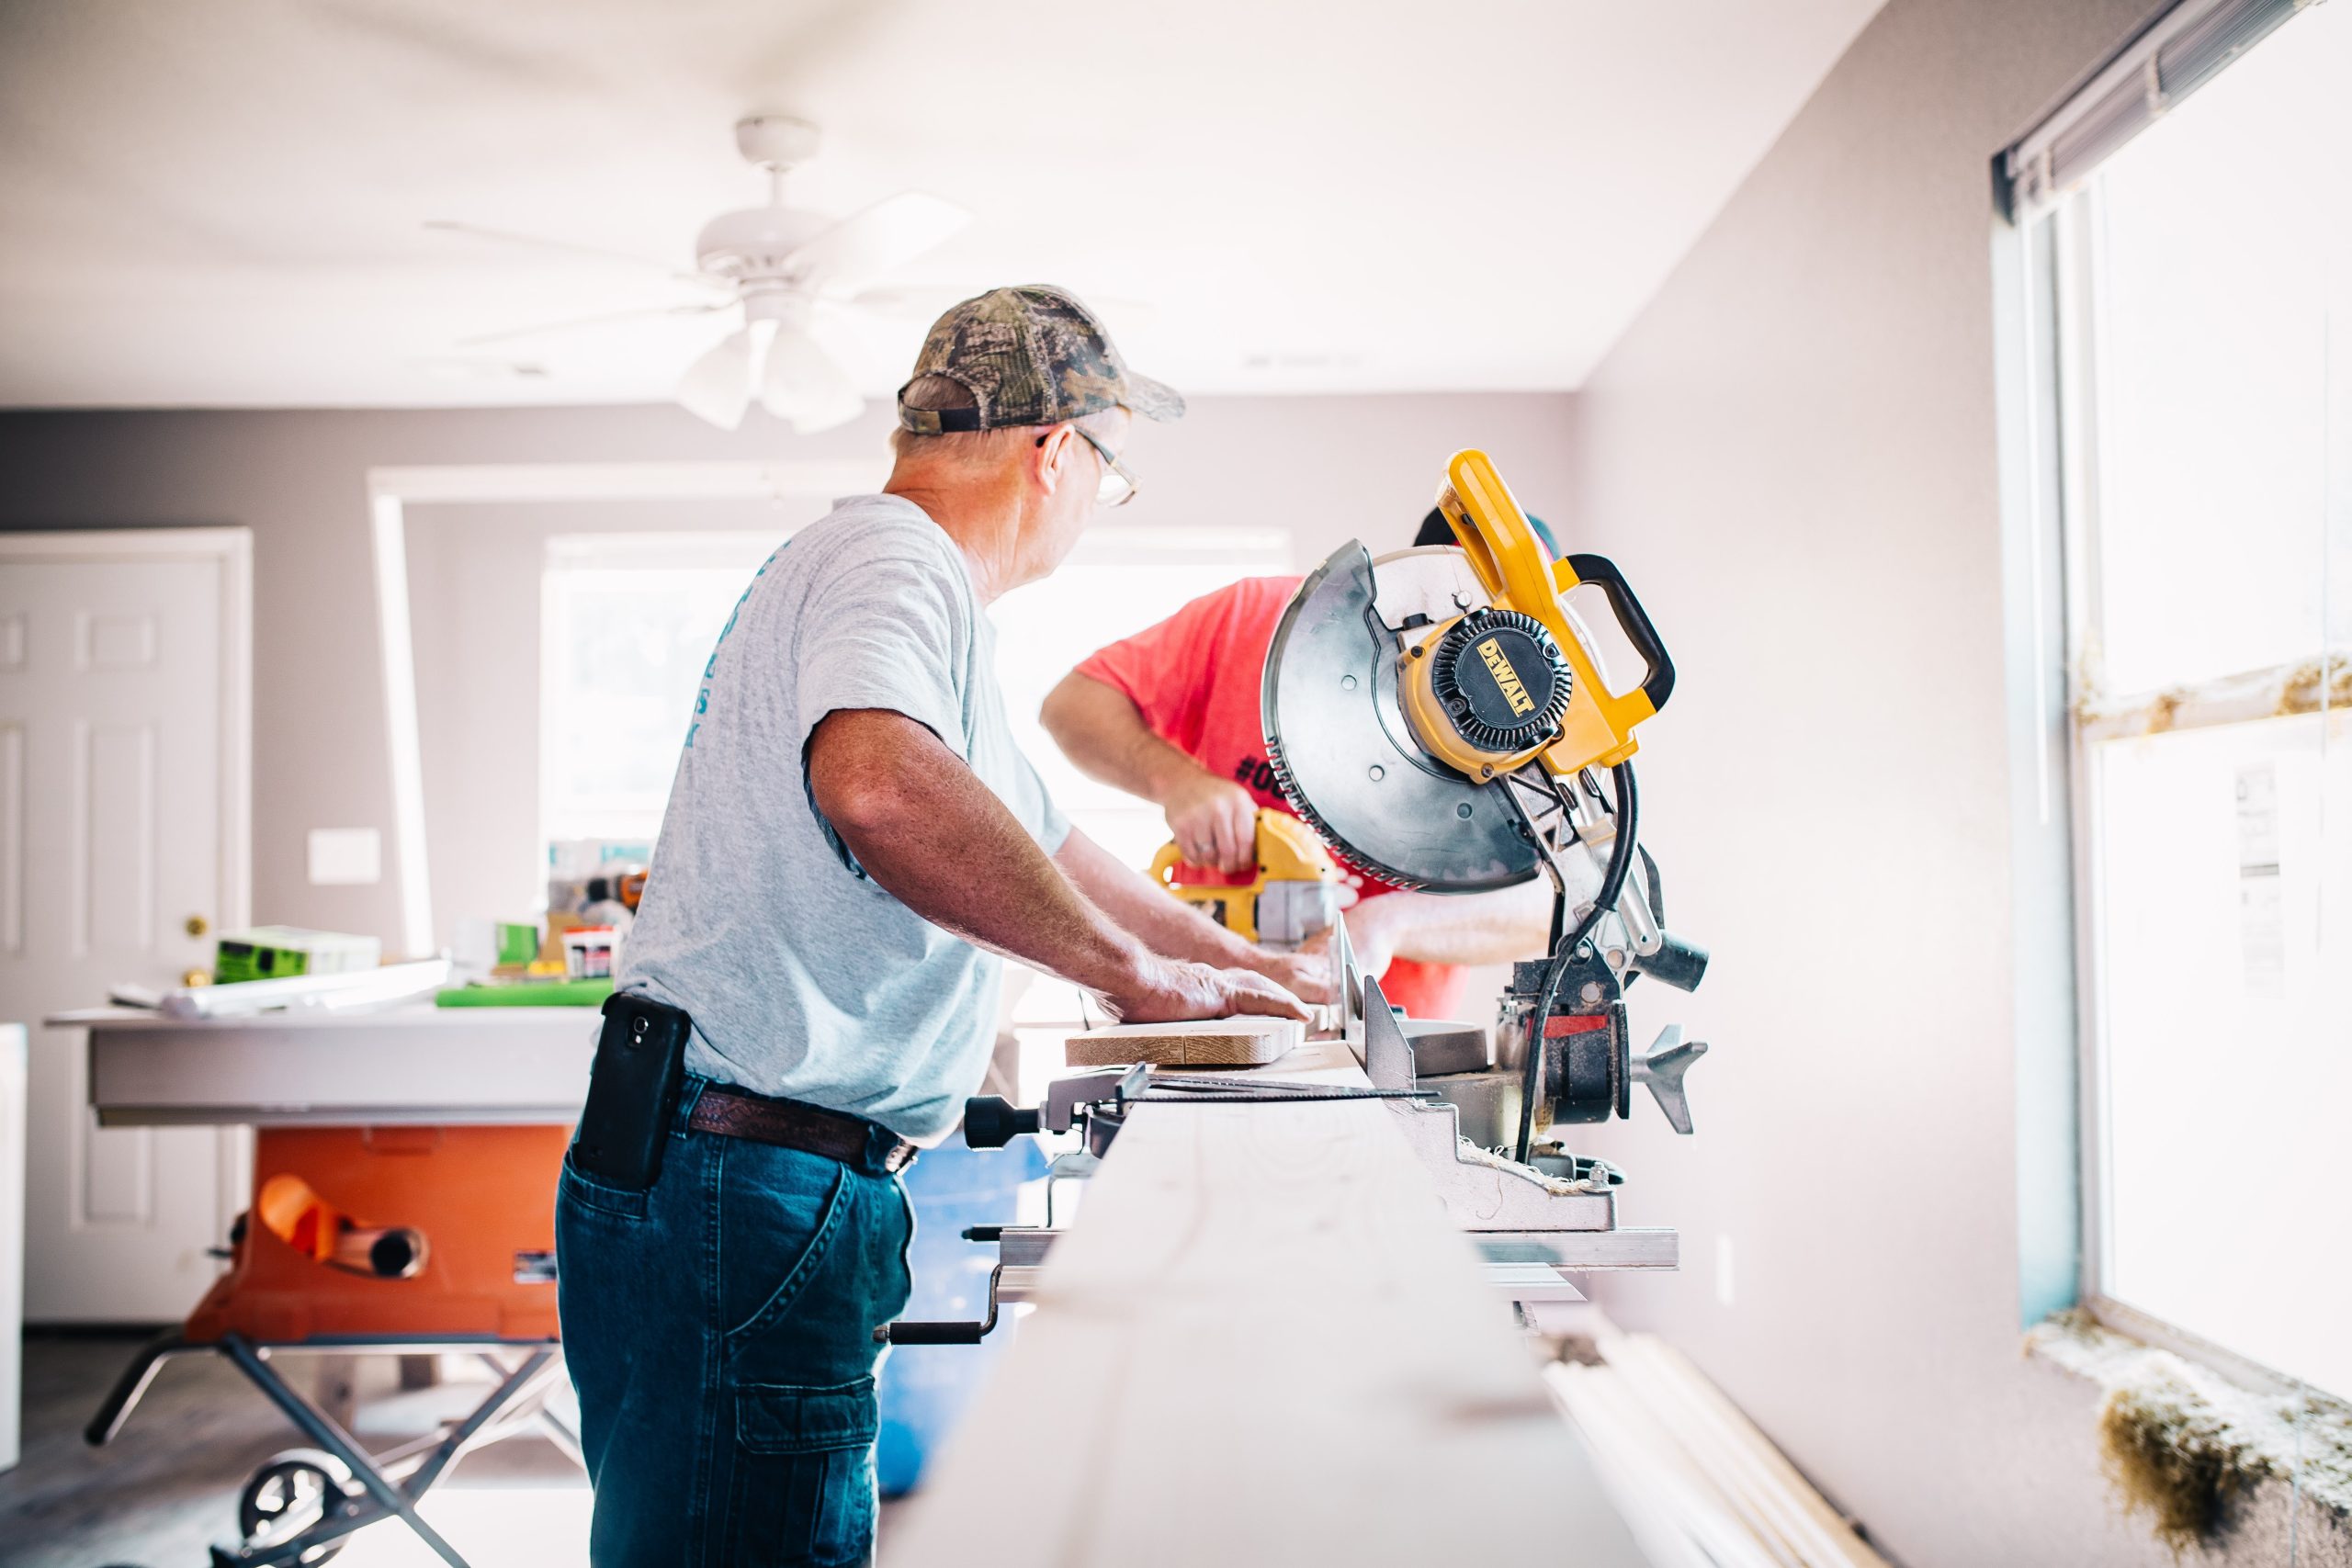
Step 1: Gather the Tools and Materials
Before you begin installing laminate flooring, you’ll need to gather the necessary tools and materials. Here’s what you’ll need:
- Laminate flooring planks
- Underlayment
- Measuring tape
- Utility knife
- Tapping block
- Pull bar
- Saw
- Spacers
- Hammer
Step 2: Prepare the Subfloor
The subfloor is the surface you’ll be installing the laminate flooring on. It should be clean, dry, and flat. Remove any old flooring, debris, or adhesive from the subfloor. If the subfloor is concrete, fill any cracks or holes with a self-leveling compound.
Step 3: Install the Underlayment
The underlayment is a thin foam layer that helps absorb sound and protects the laminate flooring from moisture. Unroll the underlayment across the subfloor, making sure it’s flush with the edges. Cut the excess with a utility knife.
Step 4: Measure and Cut the Laminate Flooring
Measure the length and width of the room and calculate the square footage. You’ll need to buy enough laminate flooring to cover this area, plus an additional 10% for waste. Follow the manufacturer’s instructions for cutting the laminate flooring planks to size. A saw or a utility knife can be used for cutting, but it is recommended to use a saw to get a more precise cut.
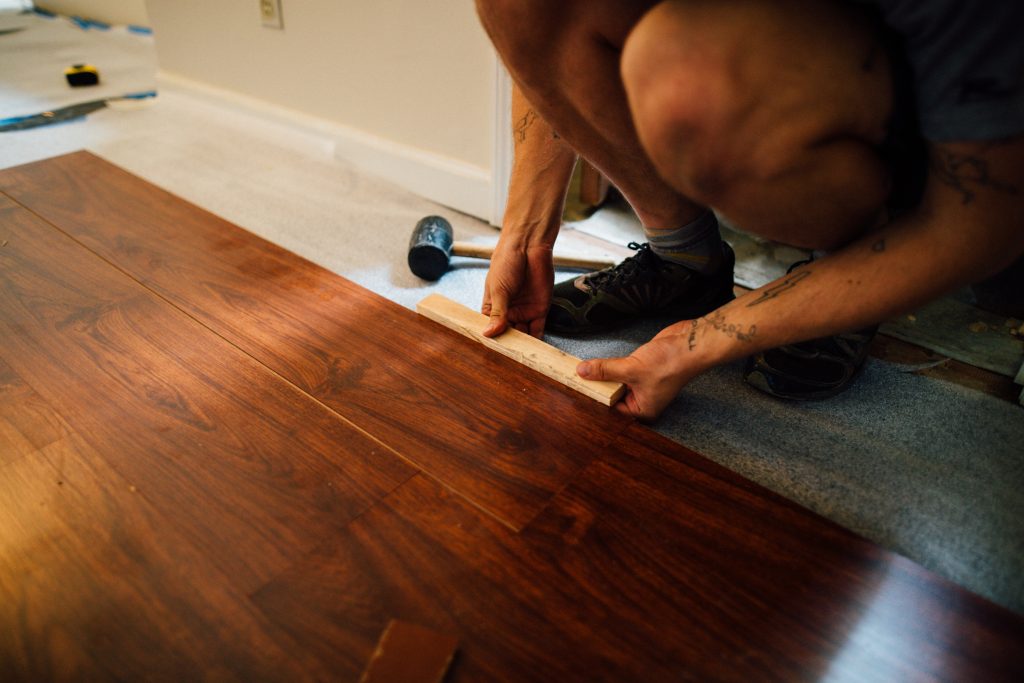
Step 5: Install the First Row
Start in the corner of the room and lay the first row of planks with the tongue side facing the wall. Use spacers between the planks and the wall to allow for expansion. Snap the planks together using the locking system, using a tapping block and hammer to secure the joints.
Step 6: Install the Remaining Rows
Start the second row with a plank cut to the appropriate length to offset the seams. Continue snapping the planks together, making sure each row is straight and tight. Use a pull bar to fit the planks together at the ends.
Step 7: Install the Last Row
Measure and cut the last row of planks to fit against the wall. Remember to leave a small gap between the last plank and the wall for expansion.
Step 8: Install the Molding
Install molding around the perimeter of the room to cover the expansion gap. Follow the manufacturer’s instructions for installing quarter-round or baseboard molding.
In conclusion, installing laminate flooring can be a great DIY project that can give your home a new look. Following these steps can help ensure a successful installation. Be sure to read and follow the manufacturer’s instructions carefully, and if you’re unsure about any step, consult a professional for guidance.